What is escrow and why does it matter?
Escrow means your money is held by a smart contract — not by a person, not by a company, and not by a bank. When a client funds a project on GigRevo, the payment is locked on the Polygon blockchain until the work is delivered and approved. The freelancer can't take the money and disappear. The client can't refuse to pay after receiving the work. The smart contract enforces the deal.
GigRevo charges a flat 2% fee on every completed payment. The fee is taken from the freelancer's payout — the client funds the exact project amount, nothing more. On a $1,000 project, the freelancer receives $980 and GigRevo keeps $20. That's it.
Before you start
You need two things:
- A Telegram account
- Funds in USDC or USDT on the Polygon network (if you're the client)
That's it. You don't need MetaMask. You don't need to understand blockchain. You don't pay any gas fees — GigRevo covers all transaction costs.
Open the bot: search @gigrevo_bot on Telegram or go to t.me/gigrevo_bot.
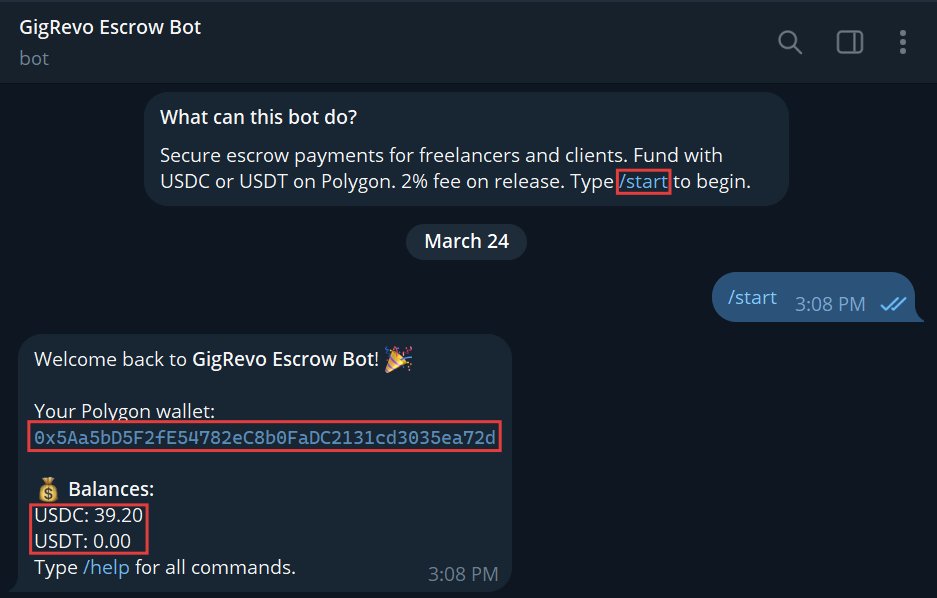
Step 1: Start the bot
Type /start or tap the Start button.
The bot creates a personal Polygon wallet for you automatically. This wallet is yours — it's encrypted and stored securely. You'll see your wallet address and your current balances (USDC, USDT, and POL).
Both the client and the freelancer need to do this step.
Step 2: Deposit funds (client only)
The client needs to fund their bot wallet before creating an escrow.
Type /deposit to see your wallet address and deposit instructions.
Send USDC or USDT to this address from any source — an exchange (Binance, Coinbase, etc.), another wallet, or a friend. It must be on the Polygon network. Sending tokens on the wrong network means losing them.
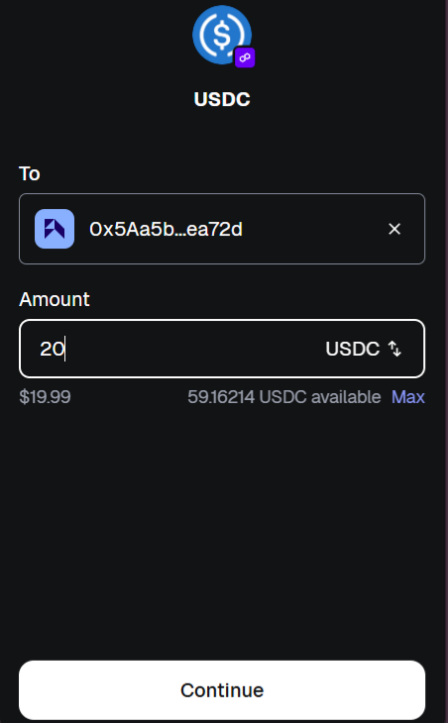
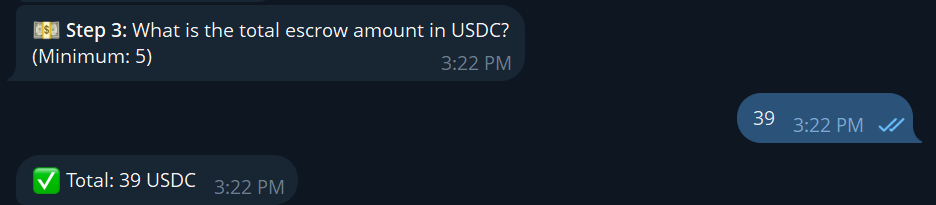
Important: Deposit at least the full project amount. If the project is $50, deposit $50 or more. Don't deposit $49.50 — the escrow creation will fail if your balance is lower than the amount you're trying to lock.
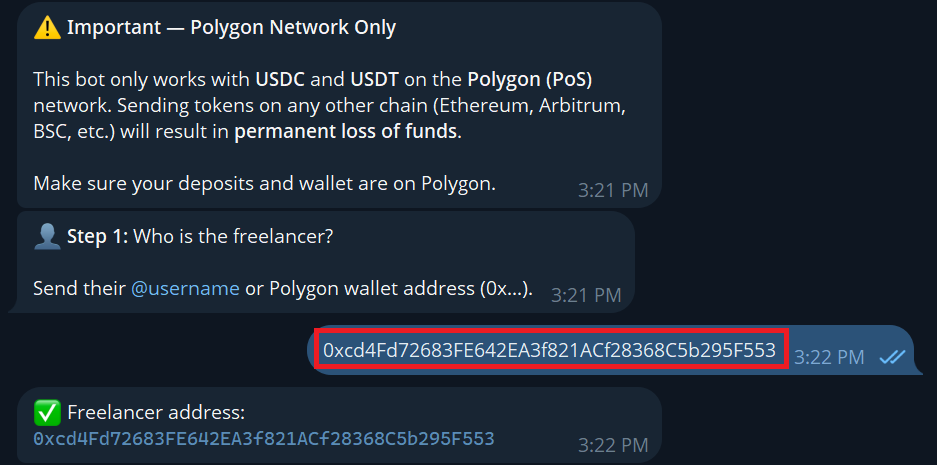
Step 3: Freelancer shares their details
The freelancer opens the bot, types /start, and copies their wallet address (visible after /wallet or /deposit).
The freelancer sends either their Polygon wallet address or their Telegram username to the client. This can be shared through any channel — Telegram DM, the GigRevo website chat, email, WhatsApp, or anything else.
Step 4: Create the escrow (client only)
Tap the menu button (bottom-left corner) and select /create, or type it manually.
The bot will walk you through each step one at a time:
1. Freelancer's address or Telegram username — paste what the freelancer sent you
2. Token — choose USDC or USDT (whichever you deposited)

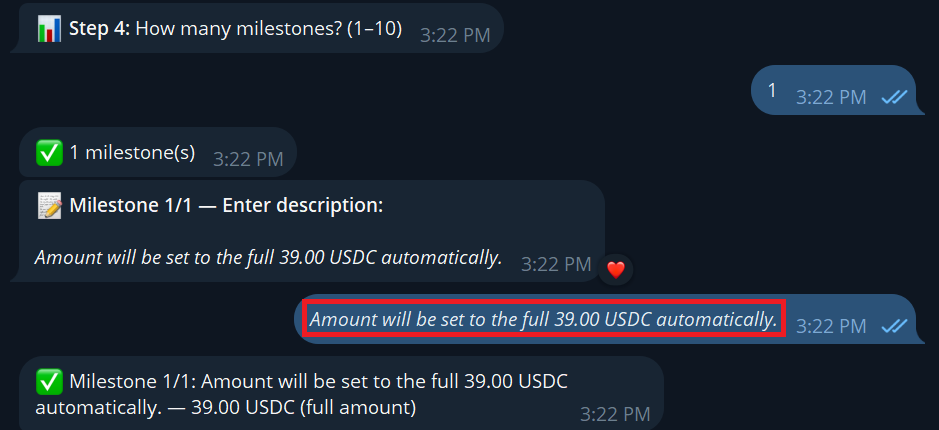
3. Number of milestones — how many payment stages the project has (1 to 50)
4. Amount per milestone — the bot will ask for each one. If you have a single milestone, the full amount goes there
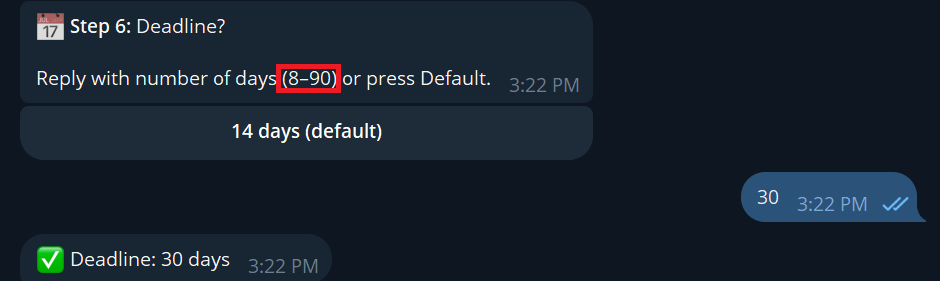
5. Deadline — how many days the freelancer has to complete the work (8 to 90 days, default is 14)
The 8-day minimum exists because the system needs a 7-day acceptance window plus a buffer.
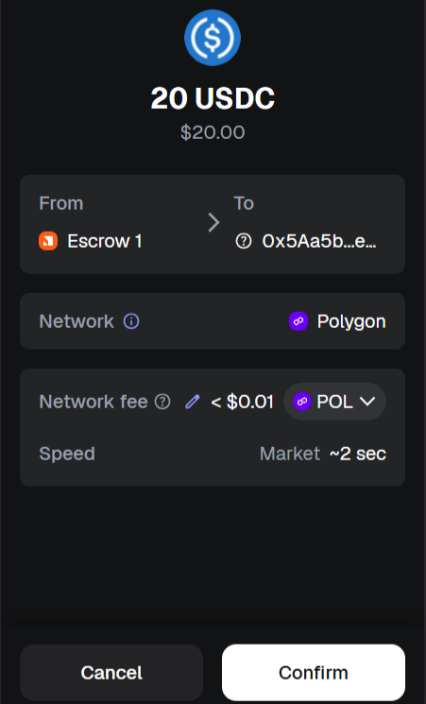
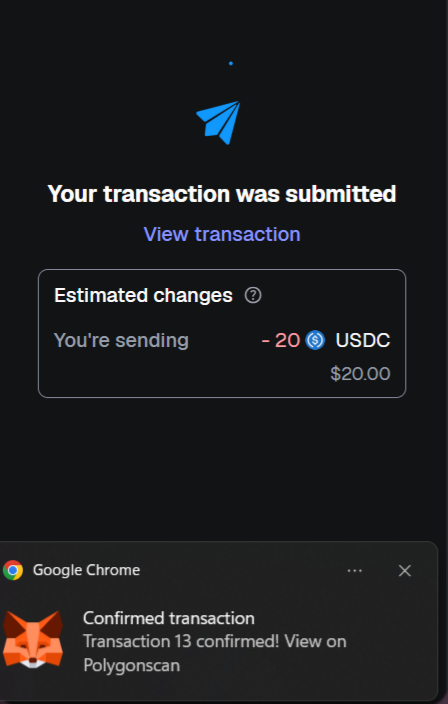
Step 5: Confirm and fund
After you've entered everything, the bot shows a summary of the escrow: freelancer, token, milestones, amounts, and deadline.
You have two options: Confirm or Cancel.
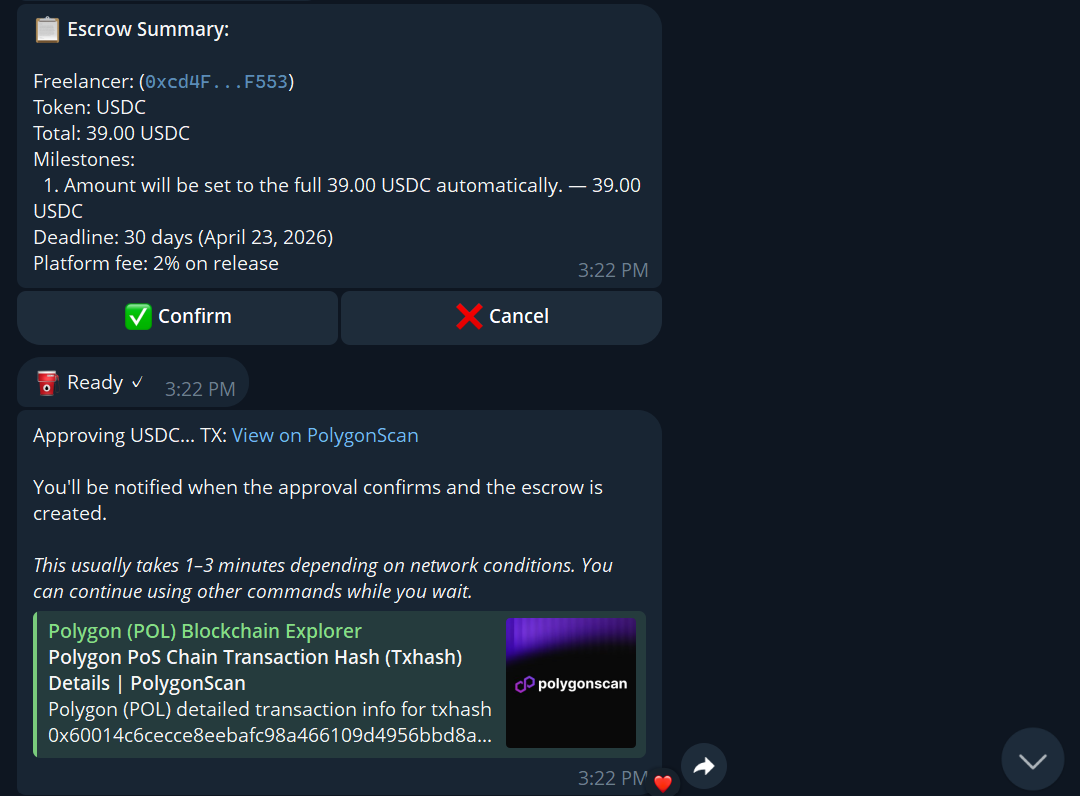
If you confirm, three things happen automatically:
- Token approval (your wallet approves the smart contract to hold the funds)
- Escrow creation (the smart contract locks the funds)
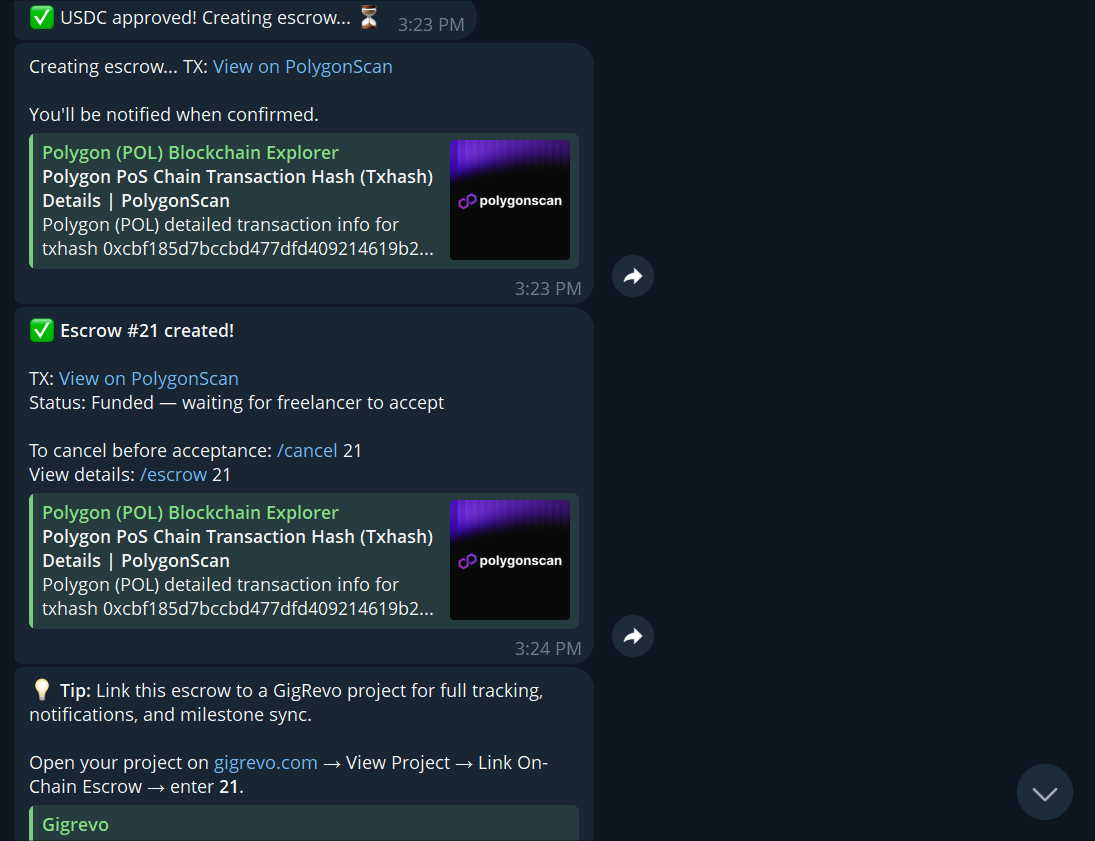
- Confirmation message ("Escrow successfully created")
You pay zero gas for any of this. GigRevo covers it.
Step 6: Freelancer accepts the escrow
The freelancer receives a notification from the bot: a new escrow is waiting for acceptance.
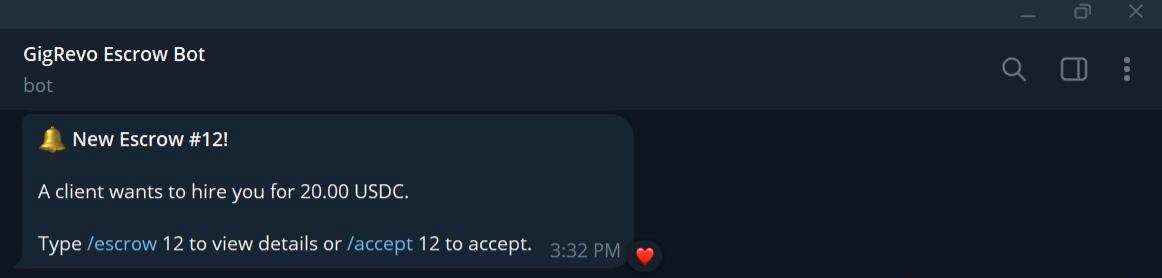
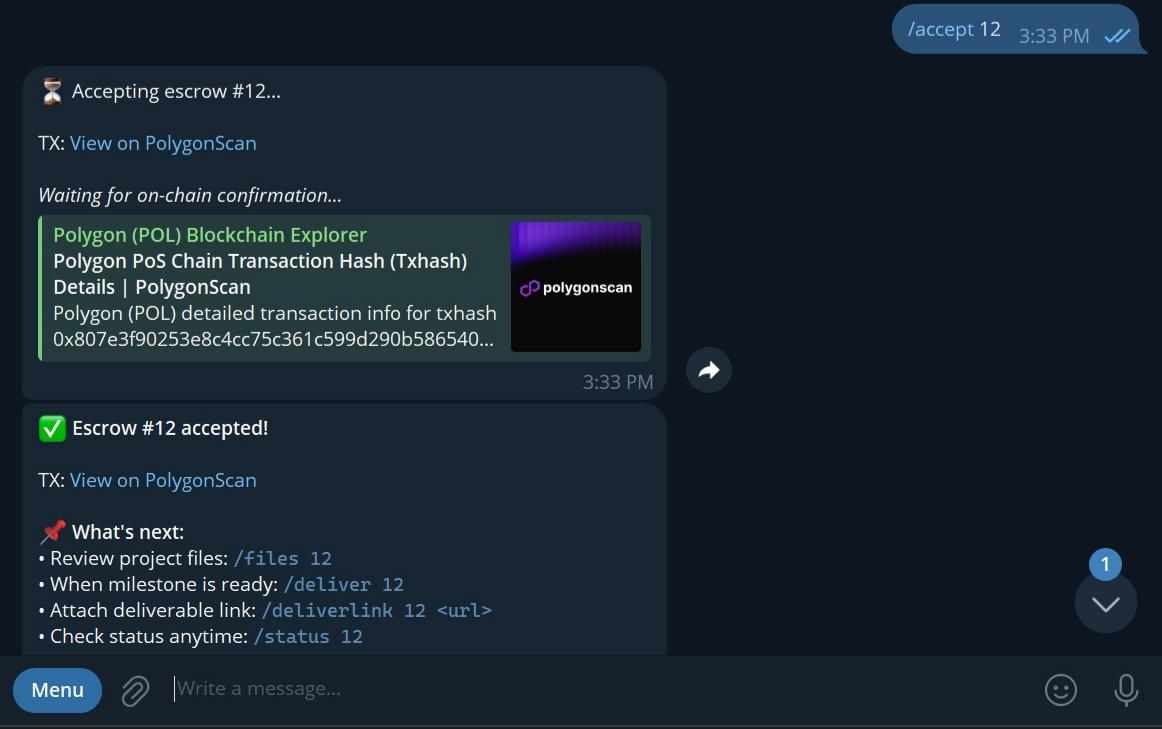
The freelancer types /accept followed by the escrow ID. For example: /accept 12
The escrow ID is shown in the notification message.
What if the freelancer doesn't accept? After 7 days, the escrow is automatically cancelled and the full amount is refunded to the client. No action needed — the smart contract handles it.
Step 7: Work begins
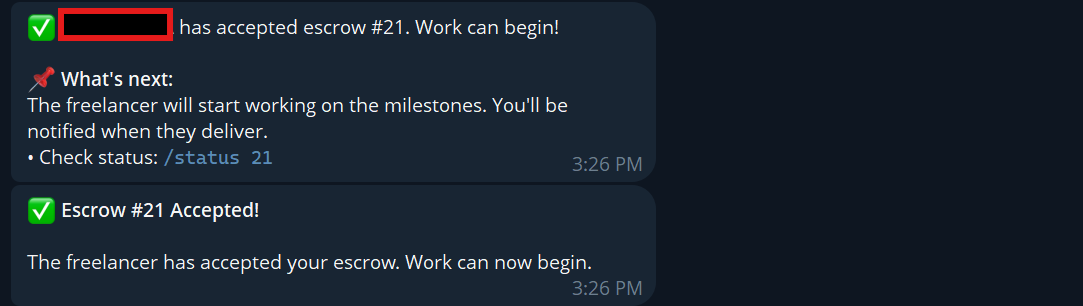
Once accepted, both parties receive a confirmation. The freelancer can now start working on the project.
Use /status followed by the escrow ID to check the current state at any time. Use /escrows to see all your active escrows.
Step 8: Freelancer delivers work
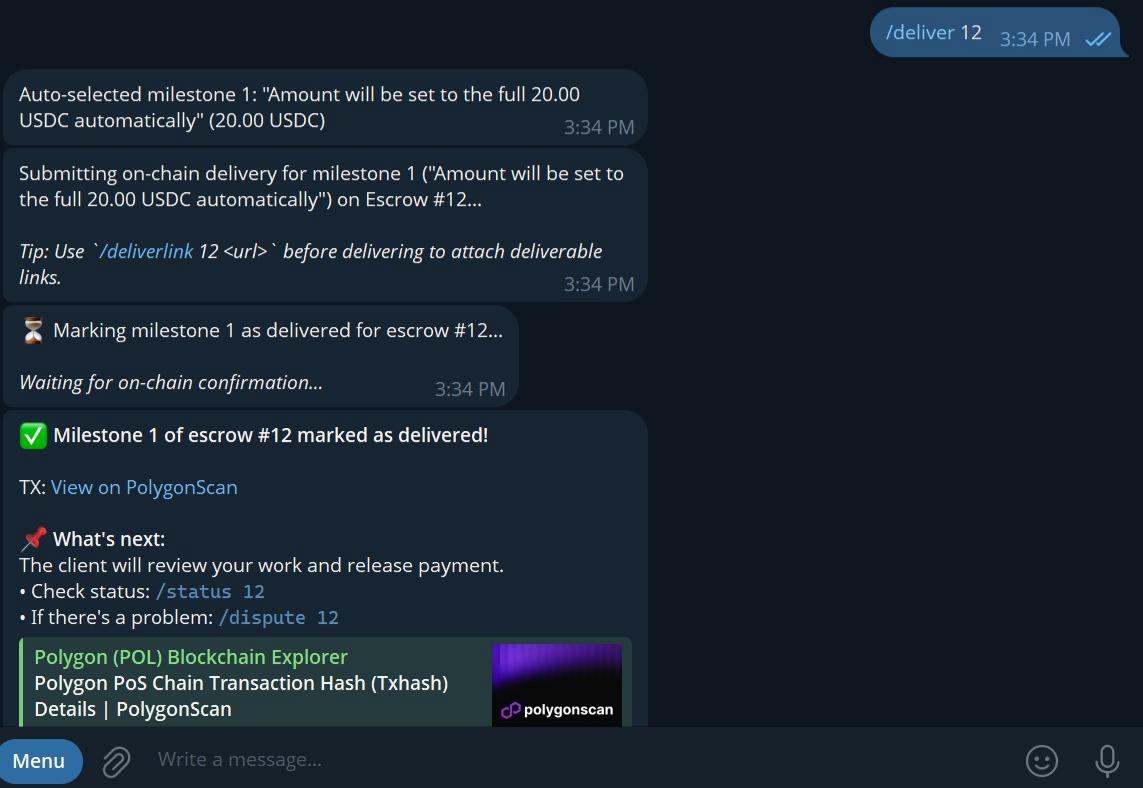
When the work is done, the freelancer types /deliver followed by the escrow ID. For example: /deliver 12
To include a link to the deliverable (Google Drive, GitHub, etc.), use /deliverlink instead: /deliverlink 12 https://drive.google.com/your-file
The milestone is marked as "Delivered" on-chain.
Step 9: Client reviews and decides
The client receives a notification with three options:
- Release Payment — approve the work and send payment to the freelancer
- Request Revision — send feedback to the freelancer asking for changes (the milestone stays "Delivered" on-chain, but the freelancer is notified and can re-deliver)
- Open Dispute — if there's a disagreement that can't be resolved between you
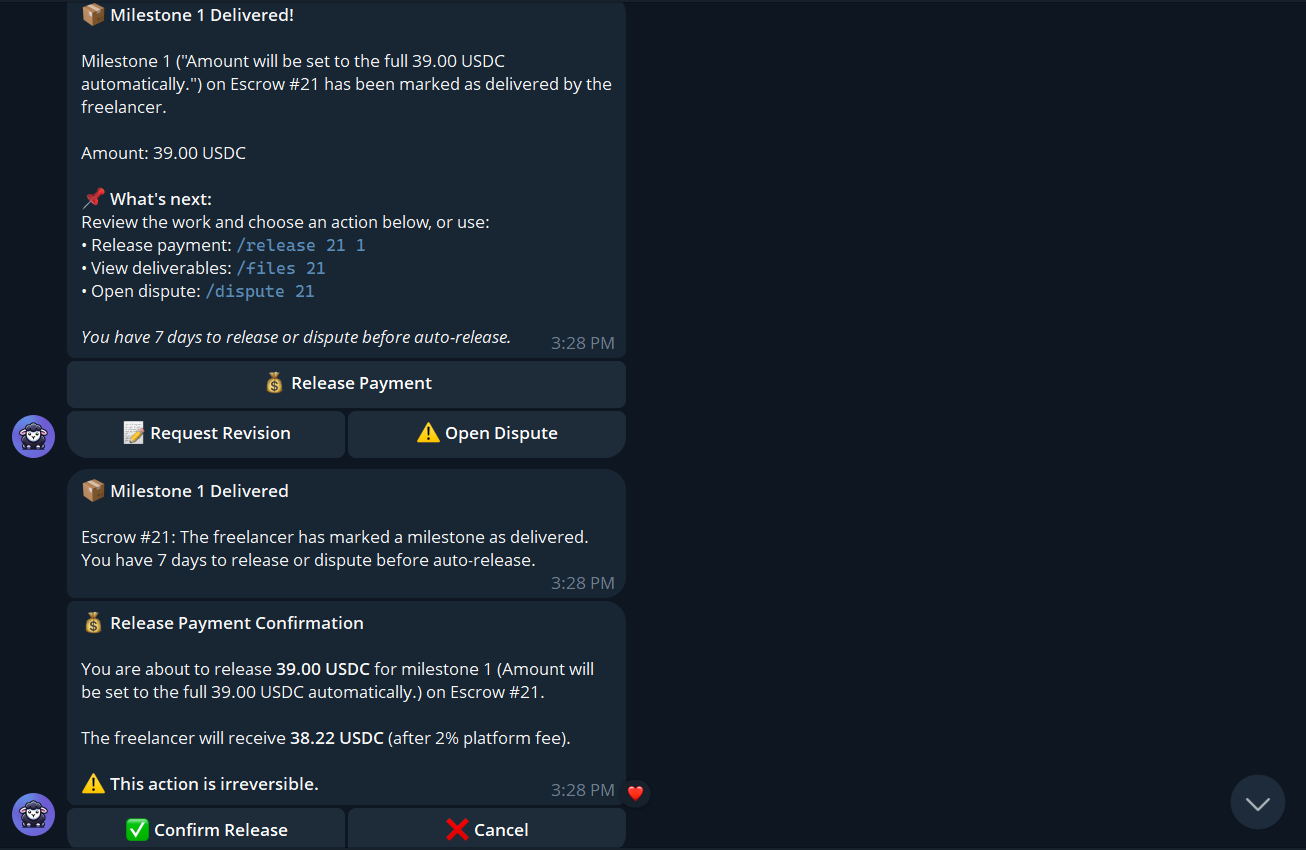
Releasing payment: Tap "Release Payment." The bot asks you to confirm. Once confirmed, the milestone payment is sent to the freelancer's wallet instantly. The 2% fee is deducted automatically — the freelancer receives 98% of the milestone amount.
If there are multiple milestones, this process repeats for each one.
Requesting a revision: Tap "Request Revision" and type your feedback. The freelancer receives your notes and can re-deliver. You can still release payment or open a dispute at any time — requesting a revision doesn't lock you into anything.
What if the client disappears after delivery? After 7 days with no action from the client (no release, no revision request, no dispute), the smart contract automatically releases the payment to the freelancer. The freelancer always gets paid for delivered work.
Step 10: Freelancer receives payment
Once the client releases (or the 7-day auto-release triggers), the freelancer gets a notification. The funds are in their bot wallet.
Check your balance with /balance.

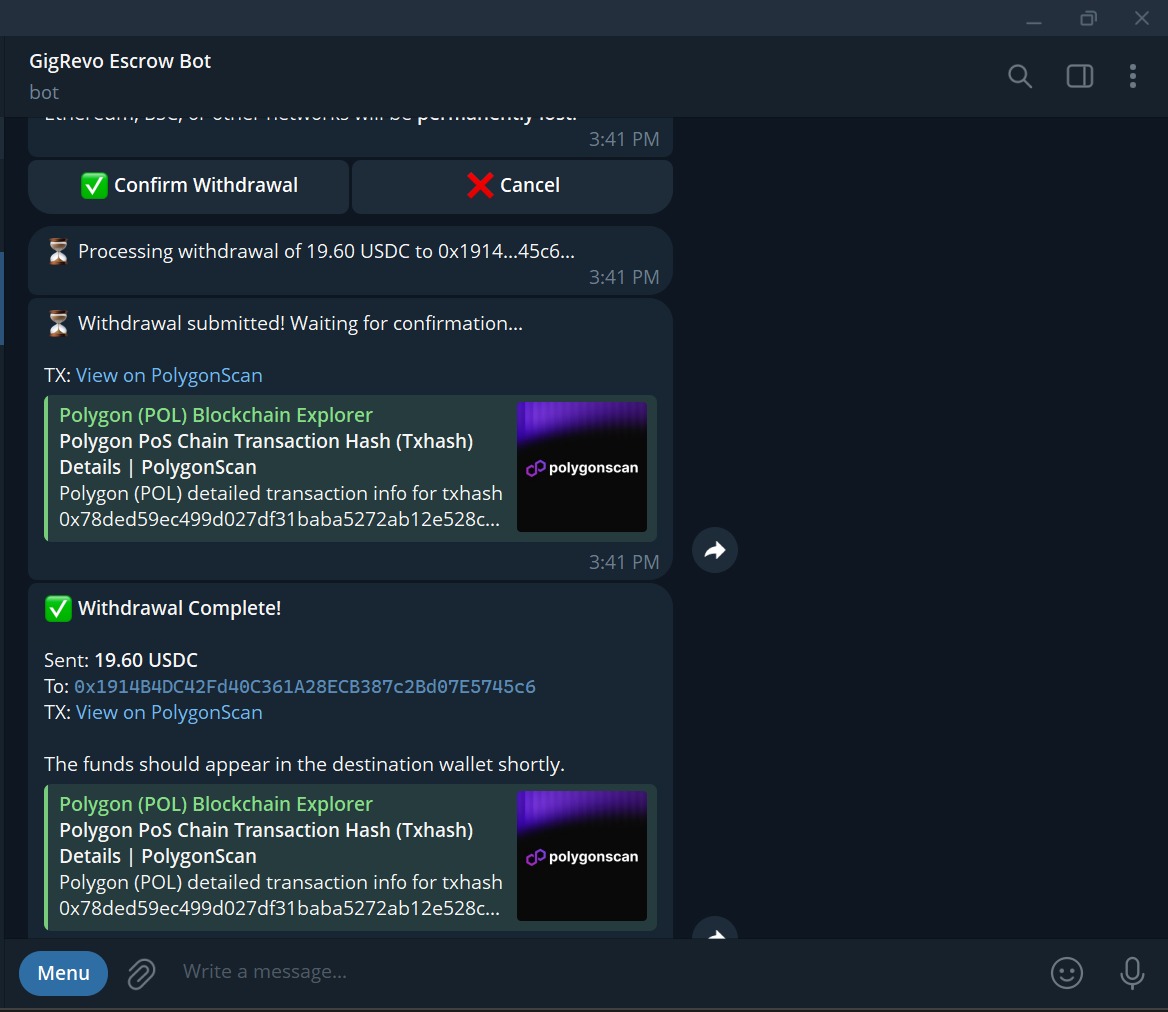
Step 11: Withdraw funds (freelancer)
Type /withdraw and follow the prompts:
- Choose USDC or USDT
- Enter the amount (or type "max" for everything)
- Paste your external wallet address (any Polygon-compatible wallet — MetaMask, Coinbase, Binance, etc.)
- Confirm
Minimum withdrawal is 1 USDC/USDT. Gas is covered by GigRevo. The tokens arrive in your external wallet within seconds.
Example: /withdraw USDC max 0xYourWalletAddress
When things change: amendments
Projects change. Scope shifts. Deadlines move. GigRevo handles this.
Either party can propose an amendment to an active escrow — changing milestone amounts, restructuring milestones, or adjusting deadlines. The total escrow amount must stay the same.
Both parties must agree. The amendment is executed on-chain with mutual digital signatures (EIP-712). No gas fees. The original escrow updates in place — no need to cancel and recreate.
When things don't work out: cancellation
Before the freelancer accepts:
The client can cancel unilaterally. Type /cancel followed by the escrow ID. Full refund, no questions asked.
After the freelancer accepts: Either party can request a mutual cancellation. Both parties must agree. If both sign off, the smart contract returns unreleased milestone funds to the client. Any milestones that were already released stay with the freelancer. No gas fees.
When there's a disagreement: disputes
Either the client or the freelancer can open a dispute on an active escrow by typing /dispute followed by the escrow ID.
Once a dispute is opened, the escrow freezes. No auto-releases happen. No payments move. The funds stay locked in the smart contract until a GigRevo arbiter reviews the case.
Both parties submit evidence. The arbiter reviews it and makes a decision. The resolution is recorded on-chain — fully transparent, fully verifiable.
To open a dispute: /dispute 12
Linking your Telegram account to the website
If you also use GigRevo on the website (gigrevo.com), you can link your accounts so your escrows, wallet, and history sync across both.
Type /link in the bot. You'll receive a 6-digit code. Go to gigrevo.com, log in, and enter the code in your account settings.
You can also sign in to the website directly using the Telegram Login button — no code needed.
To unlink your accounts, go to your settings on the website.
All bot commands
- Getting started:
/start— create your wallet and see your balances/wallet— show your wallet address and balances/deposit— show deposit instructions/balance— check your USDC, USDT, and POL balances
- Escrow management:
/create— create a new escrow (clients)/accept [id]— accept an escrow (freelancers)/deliver [id]— mark a milestone as delivered/deliverlink [id] [url]— deliver with a link to the work/release [id]— release milestone payment (clients)/cancel [id]— cancel an escrow/dispute [id]— open a dispute/status [id]— check escrow status/escrow [id]— view detailed escrow information/escrows— list all your escrows
- Account:
/withdraw— withdraw funds to an external wallet/link— generate a code to link to the website/export— export your wallet private key (DM only)/files— list files associated with an escrow/deletedata— request data deletion/confirmdelete— confirm account deletion/support— contact support (support@gigrevo.com)/helpor/commands— show all commands
Quick reference
Need help?
Type /support in the bot or email support@gigrevo.com. Visit gigrevo.com for the full platform experience.